 Skip to content

Step-by-Step Guide to Installing Printer Ribbons
Most printers require periodic maintenance, which frequently involves changing the printer ribbon.
If you have ever been curious about how to do this, this guide will provide you with a detailed, step-by-step procedure for properly installing printer ribbons.
Why Printer Ribbons Matter
Printer ribbons are used in impact and dot matrix printers. They create clear, smudge-free text and graphics on receipts, invoices, and other business documents. Using a fresh, high-quality ribbon ensures:
- Crisp, professional-looking prints
- Longer printer lifespan
- Reduced downtime and paper waste

Step 1: Power Off the Printer
Before handling any part of your printer, turn it off and unplug it. This prevents electrical hazards and protects both you and the machine.
Step 2: Open the Printer Cover
Locate the top or front cover of your POS or dot matrix printer and gently open it. Most printers have a latch or release button for easy access.
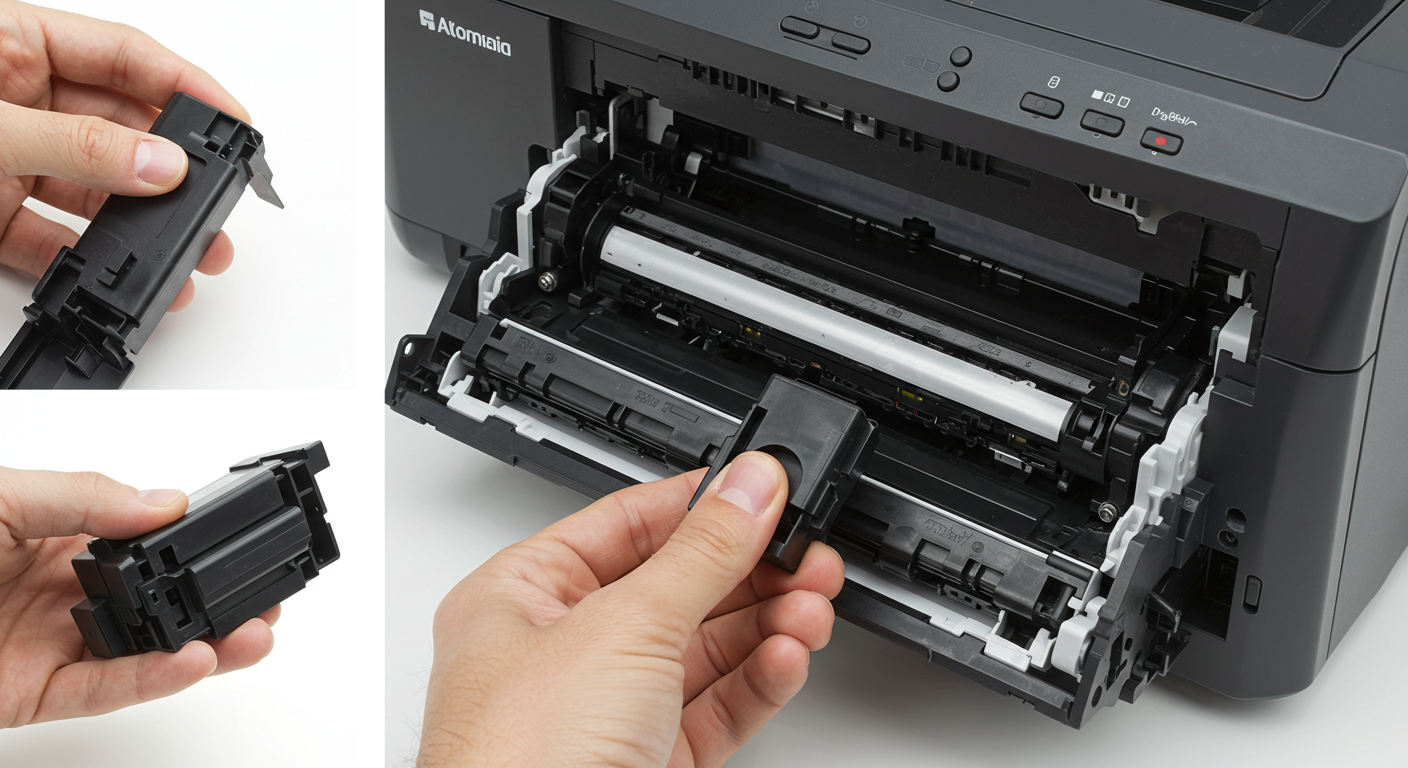
Step 3: Remove the Old Ribbon
- Carefully lift out the old ribbon cartridge.
- If it is jammed, avoid forcing it; check for small clips holding it in place.
-
Dispose of the used ribbon properly (most are not recyclable).
Step 4: Unpack the New Ribbon
- Take the new ribbon out of its packaging.
- Make sure it is the right model for your printer (check your printer’s manual).
- Some ribbons come with a protective strip remove it before installation.
Step 5: Insert the Ribbon Cartridge
- Place the ribbon cartridge into the printer’s ribbon holder slot.
- Ensure it snaps in securely without wobbling.
- Guide the ribbon between the print head and platen (the roller that feeds paper).
Step 6: Tighten the Ribbon
Most printer ribbons include a tension knob or wheel. Turn this knob to remove slack and make sure the ribbon is smooth. This prevents wrinkles and uneven printing.
Step 7: Close the Cover and Test Print
- Close the printer cover securely.
- Plug in and power on the printer.
- Run a test print or print a small receipt to check alignment and print quality.
Extra Tips for Printer Ribbon Care
- Store ribbons in a cool, dry place to prevent ink from drying out.
- Avoid touching the ribbon fabric directly; it can smudge or damage print quality.
- Replace ribbons regularly if prints appear faded, streaked, or incomplete.
Final Thoughts
For compatibility and optimal performance, purchase your printer ribbons from POSPaper. We offer a comprehensive selection of ribbons for Epson, Star Micronics, Citizen, and various other well-known POS printer brands.