 Skip to content
How to Create Custom Forms Using Carbonless Paper
For maintaining clear and consistent records in your business—carbonless paper serves as the ideal solution.
This guide will provide you with a step-by-step approach to creating custom forms utilizing carbonless paper.

What Is Carbonless Paper?
Carbonless paper (also called NCR paper, short for No Carbon Required) is designed to make multiple copies of a form without using carbon paper. It uses a special coating of micro-encapsulated dye and reactive clay on the back and front of each sheet. When pressure is applied—like from writing or printing—the dye reacts with the clay on the sheet below, creating a duplicate.
This makes carbonless forms perfect for invoices, work orders, receipts, contracts, and any document where duplicate or triplicate copies are needed.
Why Use Custom Carbonless Forms?
Using custom carbonless forms allows you to tailor every detail to your business needs. You can include your logo, contact information, and custom fields that match your workflow. Some benefits include:
-
Brand consistency: Your forms look professional and represent your business.
-
Efficiency: Only the fields you need are included, saving time during data entry.
-
Accuracy: Printed fields minimize handwriting errors.
-
Recordkeeping: Copies stay legible and durable for months (or years).
What You'll Need
Before you create your custom carbonless forms, gather the following:
-
A clear layout of your form (hand-drawn or digital)
-
Your logo and business details
-
The number of parts needed (2-part, 3-part, or 4-part)
-
Carbonless paper sets (available pre-collated in various colors)
-
A printer capable of handling multipart forms (laser or impact printer)
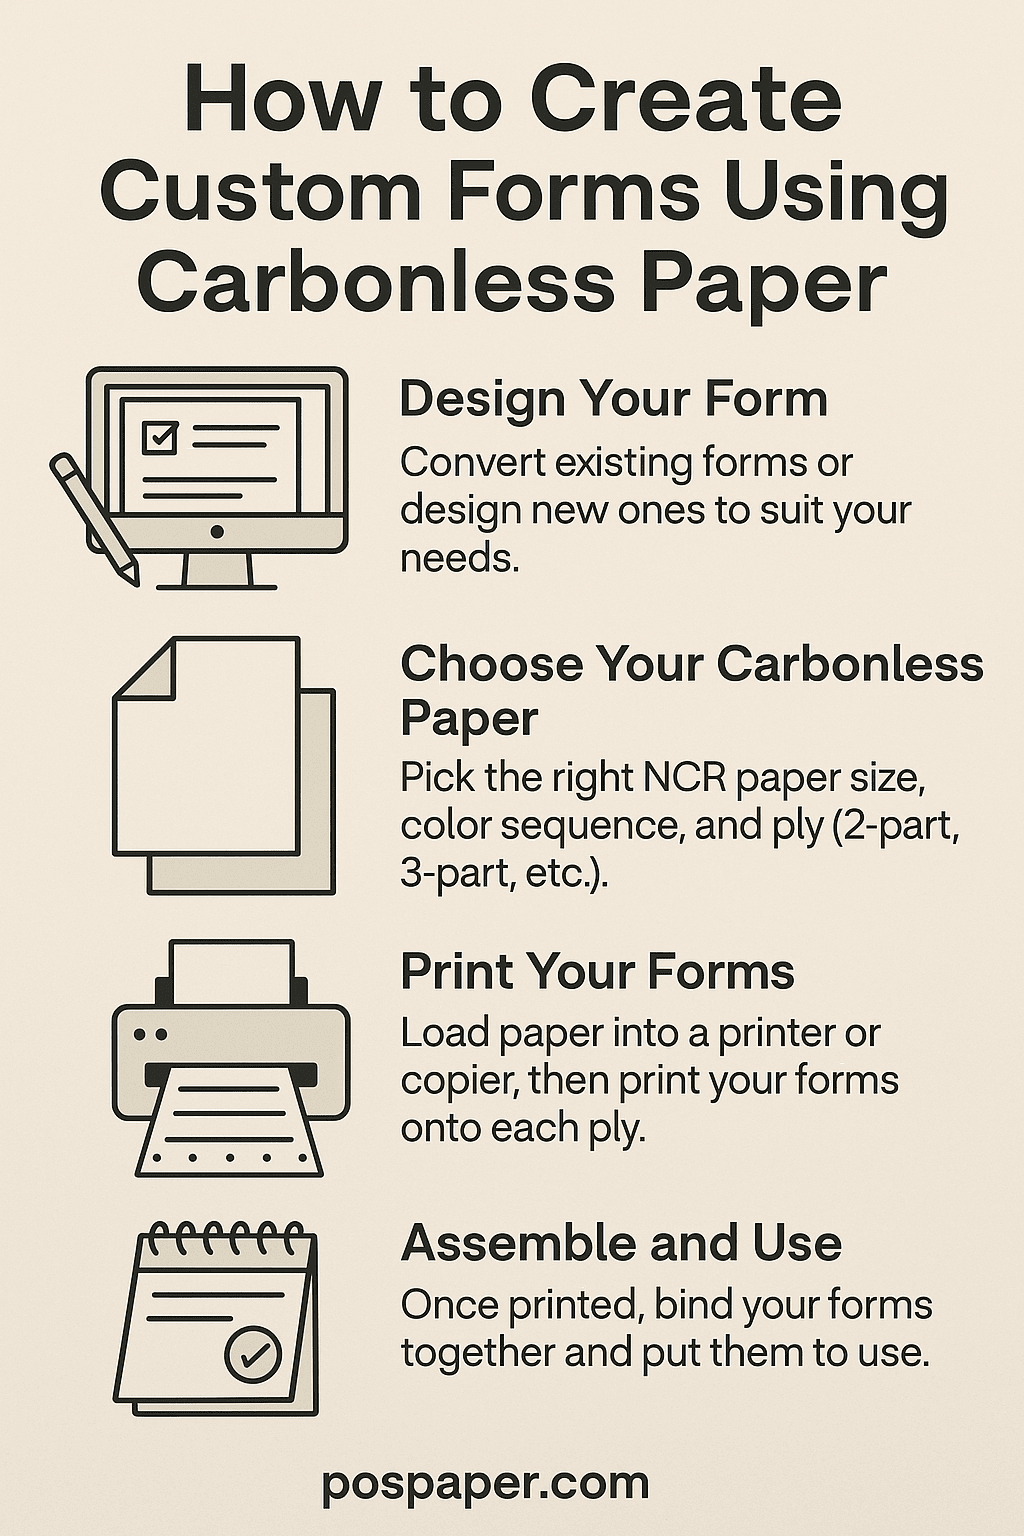
Steps to Create Custom Carbonless Forms
1. Design Your Form
Start by sketching out your form or using software like Microsoft Word, Adobe Illustrator, or Canva. Focus on the fields your staff uses most: date, itemized services, totals, signature lines, etc. Add your branding for a professional look.
2. Choose the Number of Copies
Most businesses go for 2-part or 3-part forms. For example:
-
2-part: One copy for the customer, one for your records.
-
3-part: Add a third for accounting or inventory purposes.
You can select white, yellow, and pink paper to distinguish copies.
3. Select the Right Carbonless Paper
POSPaper offers pre-collated carbonless paper that’s compatible with both laser and inkjet printers. The sheets are already arranged in the correct order (e.g., white/yellow/pink), saving you time and hassle.
4. Print Your Form
If printing in-house, load the carbonless paper into your printer according to manufacturer instructions. Laser printers work best for forms with detailed graphics, while impact printers are great for basic layouts and heavy usage.
For bulk needs or a more professional finish, consider having your forms printed by a commercial printer.
5. Test and Bind
Print a few copies and test how well the form transfers between sheets. Then, bind the forms using staples, glue, or snap sets. Some businesses prefer loose sheets for flexibility.
Final Thoughts
Custom forms made with carbonless paper are a must-have for any business that values accurate recordkeeping and a smooth workflow.
Ready to Get Started?
Browse our carbonless paper options today at POSPaper and take control of your paperwork like a pro!