 Skip to content

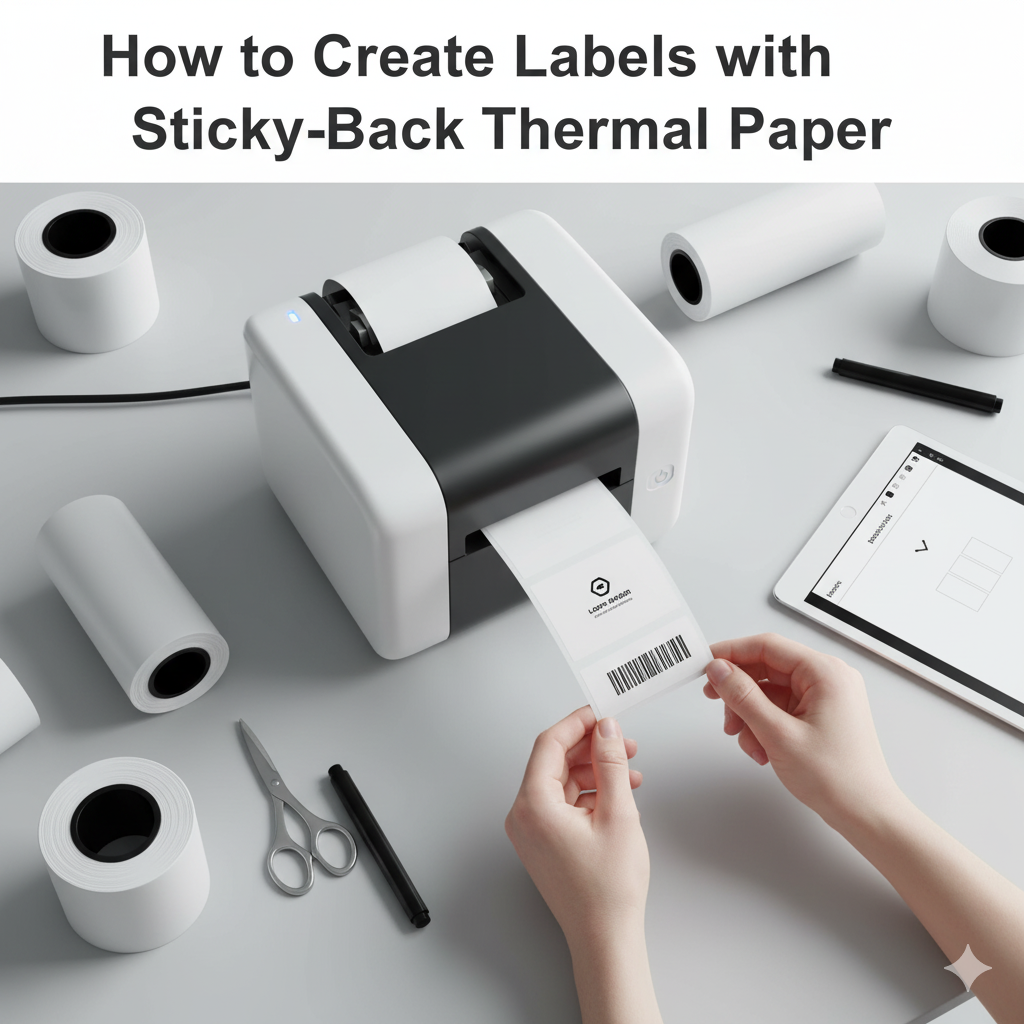
Create Labels with Sticky-Back Thermal Paper
Sticky-back thermal paper is a fast and efficient way to print labels. It removes the need for ink or toner.
in retail, logistics, and manufacturing use it because it saves time and reduces waste. If you want clear and lasting labels, you need the right approach.
1. Understand What Sticky-Back Thermal Paper Is
Sticky-back thermal paper has a heat-sensitive surface and an adhesive backing. When heat from a thermal printer head touches the paper, it creates text or images instantly. No ink is required. Once printed, you peel the backing and place the label on a product, box, or package.
2. Choose the Right Paper Type
There are two main types of thermal paper: direct thermal and thermal transfer.
- Direct thermal paper reacts to heat and works well for short-term labels such as shipping labels or receipts.
- Thermal transfer paper uses a ribbon and produces more durable prints for longer use, such as product barcodes or warehouse labels.
For sticky-back labels, direct thermal paper is often preferred because it simplifies printing and lowers maintenance costs.
3. Select the Right Printer
Use a printer designed for thermal paper. Popular choices include desktop thermal printers for small-scale labeling and industrial printers for high-volume operations. Look for printers with adjustable print width, strong feed rollers, and easy roll loading.
Before printing, check the compatibility of your printer with the label size and roll core diameter. Using the wrong setup wastes paper and reduces print quality.
4. Design Your Label Layout
A good label design improves clarity and brand consistency.
- Keep the layout simple.
- Use readable fonts and high-contrast colors.
- Include only essential information such as product name, barcode, date, and batch number.
- Align text and images properly within the printable area.
Free label design software or POS systems often come with built-in templates to make this process easier.
5. Load the Paper Correctly
Follow these steps to load the roll:
- Open the printer cover.
- Place the roll so the thermal side faces the print head.
- Pull a small section of paper out before closing the cover.
- Print a test label to confirm proper alignment.
If your labels appear faded, your paper might be facing the wrong direction or the print head might need cleaning.
6. Print a Test Label
Before bulk printing, always run a test. This helps verify text size, barcode accuracy, and spacing. Make sure the content fits within the label dimensions. Adjust printer settings for darkness, speed, and positioning to get the best result.
7. Apply and Store Labels Properly
Sticky-back thermal labels adhere best to clean, dry surfaces. Avoid placing them on dusty, oily, or wet areas. Once applied, press firmly to remove air bubbles.
Store unused rolls in a cool, dry area away from direct sunlight. Heat and humidity can damage the coating and reduce shelf life.
8. Maintain Your Printer
Regular maintenance keeps your printer in good condition. Clean the print head with a soft cloth and isopropyl alcohol every few rolls. Replace worn parts like rollers and cutters when needed.
A clean printer ensures consistent print quality and prevents paper jams.
9. Use Quality Paper
Low-grade thermal paper fades quickly and causes printer wear. Use reliable sticky-back thermal paper from trusted suppliers like POSPaper. Quality paper ensures longer image life and clear printing results.
10. Benefits of Sticky-Back Thermal Paper Labels
- Fast and efficient printing
- No ink or toner needed
- Easy application
- Cost-effective for bulk labeling
- Consistent, professional appearance